Pages

Showing posts with label Medallion Stamp. Show all posts

Tuesday, 10 July 2012

Pearl Anniversary


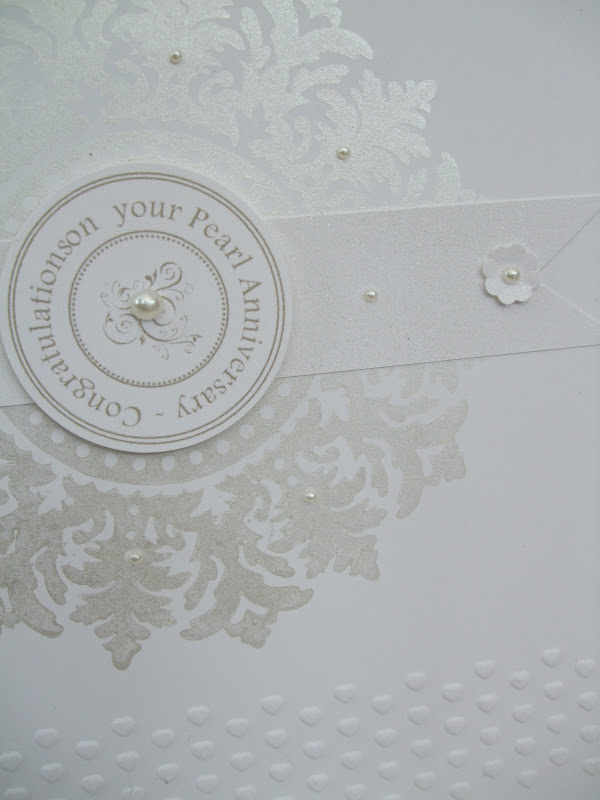
Now it is safely in the hands of the recipients I can show you a Pearl Wedding Anniversary card I was asked to make a few weeks ago. I started by daubing the large Medallion stamp with Champagne Shimmer Paint and stamped onto Whisper White cardstock, this was put aside until the Shimmer Paint was completely dry. Once dry I embossed the bottom part of the card using the hearts folder which is one of the Textured Impressions Adorning Accents Embossing Folders set available in the Summer Mini. The stamped and embossed panel was layered onto a piece of non-SU pearlised cardstock which I found in my stash and then matted onto an A5 card blank. A simple banner to go across the card was made with Whisper White with a tiny punched flower and some Basic Pearls added. The sentiment is computer printed and one which I found on Annette's blog (click here to go to her post) so a big thank you to Annette as it was perfect for my card. The picture bottom right shows the box I made to put the card in.
Once again I would like to thank everyone for their kind thoughts and wishes for myself and my Dad, it really does mean a lot to me x

Friday, 21 October 2011

Christmas Medallion

 
 A while ago, whilst blog hopping, I remember seeing that someone had used the large Medallion stamp to make a Christmas card and thought what a good idea it was. Unfortunately I can't find it now and don't remember what it looked like, or who made it, but thank you for the idea whoever it was. I stamped the Medallion in Old Olive onto a square of Whisper White and added some berries (more on those later), the sentiment is from Perfect Punches stamped in Real Red, cut out with a circle punch and placed in the centre of the main image with dimensionals. A bow of narrow Real Red Taffeta ribbon added at the bottom, a sprinkling of Dazzling Diamonds, matted and layered onto Real Red and a white card blank and job done!
Now for a bit more on those berries - I had a Vicky* moment (sadly I don't get these too often!) and used my crpo-a-dile to punch out three of the larger circles from a piece of scrap rubber that you get left over from the stamp sets, and mounted them onto the end of a thin wood mount and, hey presto, ready made holly berries. I simply highlighted them with a white gel pen to give them some depth.
* Click on 'Vicky' to visit her blog and see some truly stunning creations

Related Posts Plugin for WordPress, Blogger...