Pages

Showing posts with label Itty Bitty Shapes Punch Pack. Show all posts

Monday, 26 May 2014

Little gifts!


A very quick post from me to show you some little gifts I made for my class ladies last week. A few weeks ago I came across these little bath confetti pods (above right) and, as they were in SU colours, I couldn't resist them!
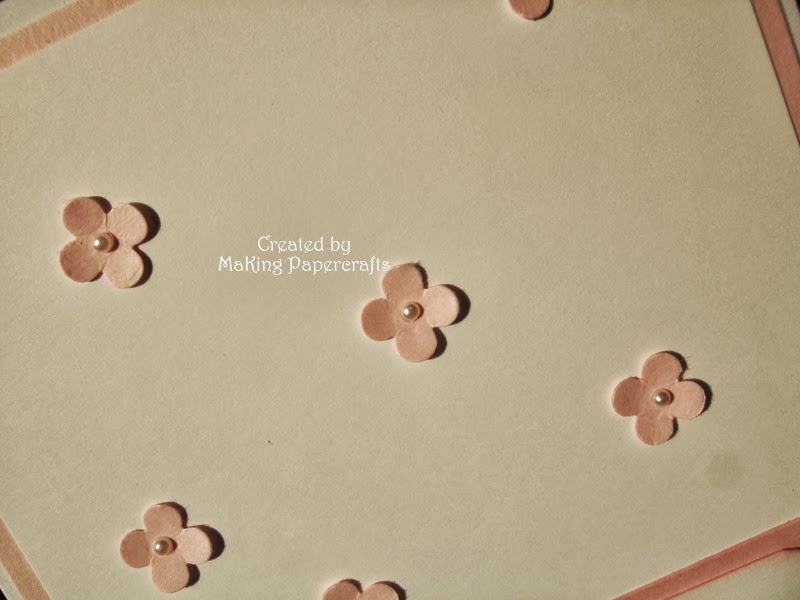
The little boxes were made with the Envelope Punch Board and each one held two of the confetti pods. They were decorated with matching DSP, a Bitty Butterfly, a little bit of Petite Petals stamping, a sentiment from Chalk Talk, an Itty Bitty flower and finished with co-ordinating ribbon.

I am on half-term this week and yesterday I came down with a cold - why does it always happen when I'm on holiday??
Bye for now
Margaret x


Thursday, 10 April 2014

Card Swap with a Difference


Our card swap group has branched out into making a 3D item this month - which suits me down to the ground!!
Jane sent us a link to a YouTube video post-it note holder, made by the very talented Angie Kennedy Juda (which can be seen here) as a guide to the size it should be but, other than that, she gave us free reign to create our own version.
It was my turn to make something for Jane and I happen to know that her favourite colour is pink so I used Pink Pirouette cardstock and DSP for the holder which matched perfectly with a pink post-it note pad I already had. I used a Labels Collection Framelit to shape the front of the cover and added a (retired) label, punched with the Extra Large Oval punch. Five flowers, punched from one of the Itty Bitty Punch Pack with a tiny Basic Pearl for the centre, and a Papillon Potpourri butterfly decorated the front cover. Two small magnets keep the holder closed.
Thanks for visiting
Margaret x


Saturday, 1 March 2014

Yellow & Green for LIM


Firstly my apologies for the lack of posts over the last few days but we had a sudden family bereavement and, understandably, crafting has not been one of my priorities. However I did find a little time this morning to make a card for the LIM challenge which is 'Yellow & Green'.
Quite a simple card made with stamps from Summer Silhouettes (the stems and leaves), a retired sentiment and some Daffodil Delight flowers.
The larger flowers are cut from the Floral Fusion Sizzlits die and the small ones from one of the Itty Bitty Shapes Punch Pack. I added a couple of score lines before matting onto Pear Pizzazz cardstock and a white card blank and a few Basic Pearls finished the card.
I have a feeling that my posts will be very erratic over the next couple of weeks so please bear with me and I'll be back when I can
Margaret x


Saturday, 22 February 2014

Something a little different


Well the LIM challenge today, to use metal, is definitely outside my comfort zone! I racked my brains for this challenge - should I use brads, heat embossing, some sort of charm - but none of these really inspired me. Then I suddenly remembered that a while back I'd bought a sheet of thin metal (which actually didn't work for the project I needed it for!) so I hunted that down and came up with this card. Being a Teaching Assistant in Science means that whenever I think of mixing metal with papercrafting I immediately think of magnets so this is where my 'something a little different' comes in - I made the 'Mr & Mrs' panel in the centre into a fridge magnet!! (see picture bottom right - stuck on my conservatory heater)
I used framelits from Apothecary Accents to cut out the aperture and also the 'Mr & Mrs' which had been stamped, with a now retired stamp, in Silver Encore ink. A piece of metal was embossed with the Perfect Polka Dots folder and positioned behind the aperture panel. The congratulations banner was stamped with an Itty Bitty Banners sentiment and cut with the co-ordinating framelit and the metal flowers punched with an Itty Bitty Shapes punch. A few leaves from the Bird Builder punch and some Basic Rhinestones were added to finish the card.
The fridge magnet was made by cutting several shapes from fairly stiff card then glued together to give a much sturdier panel.

Have a great weekend and I'll be back soon
Margaret x


Thursday, 13 February 2014

Sketch Challenge


This card is one I've made for the Sketch challenge over at CAS-Colours & Sketches which also co-ordinates with a little treat box I've made today.
I have used Real Red cardstock for the triangular section, stamped with a flower from Petite Petals and matted onto a white card blank. Using a framelit from the Circles Collection, I cut an aperture into the card and decorated around the outside with flowers made from a stamp in Banner Blast and cut with a punch from the Itty Bitty Shapes Punch Pack. The sentiment from Teeny Tiny Sentiments was stamped through the aperture onto the inside and tiny Basic Pearls were added to the flower centres to finish the card.
Thanks for stopping by and I would love you to pop back tomorrow to see the 
co-ordinating treat box
Margaret x

Sunday, 2 February 2014

Simples Sunday Rainbow


Following the LIM challenge theme, Rainbows, I have a couple of cards to show you and a little technique tutorial. The card above is a super simple one and very quick to make. I stamped a flower from Petite Petals in a 'rainbow' of colours and punched them out with the co-ordinating punch. On a card blank I stamped one of the Gorgeous Grunge stamps in Smoky Slate across the card and a sentiment from A Dozen Thoughts underneath. All that was left to do was to position the flowers and finish them with a Basic Rhinestone.


My second card is an easy one as well but a little more difficult than the first! I used an acrylic block and markers for the background, cut out a frame with the Squares Collection Framelits and added some tiny flowers punched with one of the Itty Bitty Shapes punches, finished with a tiny Basic Pearl for the centres. The sentiment is from the Hostess set, Express Yourself.
For those of you who may not have seen the technique to make the background above I have taken a 'step by step' set of photos, shown below.

                       Colour the block with markers           Spritz generously with water       
                  (this can also be done with ink pads)        

                          Press firmly onto cardstock                 Carefully lift the block
                           leave for a few seconds
                                 Cut to size                                   Make your card!!

Thursday, 16 January 2014

Gift set


My apologies for the lack of posts recently but I am trying to get back into the 'work' routine after quite a long Christmas break! Being back at work also means I see very little daylight for taking photos so today's set has been taken using a daylight lamp and I don't think they've turned out too badly.


This is a little thank you gift set I have made using some retired Twitterpated DSP and Island Indigo ribbon but the cardstock and 'tools' are all current.
The chocolate bar treat holder below was made using the Envelope Punch Board, the tag with a new punch coming soon - the Scalloped Tag Topper Punch.


The matching card above was made with the same supplies but, this time, the Tag Topper Punch was used for a decorative panel on the card and layered with the DSP, also shaped using the punch. The tiny flowers on both the treat holder and the card were punched with one of the Itty Bitty Shapes Punch Pack and have a Basic Rhinestone added to the centre.

Hopefully I won't be away for so long next time :0)
Thanks for stopping by
      Margaret x

Thursday, 31 October 2013

Shabby & Vintage?


If you have visited my blog recently you may have seen two cards which I entered for the House of Cards October Sketch Challenge (you can see the sketch below) - one being CAS and the other Classic & Elegant styles. Well this week the style is 'Shabby & Vintage' and I can honestly say I don't think I've ever made a card in this style (well not intentionally!!) Not to be beaten I had an idea in my head and set to - whether it can be described as shabby, vintage, a mixture of both or neither remains to be seen but at least I tried.
I started with a piece of Pink Pirouette DSP and sponged around the edges with Crumb Cake then added the 'crosses' with two strips of cardstock which had been cut with the Scallop Trim Border Punch, this was then matted onto a Crumb Cake card blank. The fancy circle in the centre is from the Perfect Pennants Bigz die with a circle of DSP, cut with a Circles Collection Framelit, matted onto it and stamped with the sentiment from Field Flowers.
For the larger flowers I took a piece of Pink Pirouette cardstock, distressed it with a bone folder and separated the two layers before cutting with the Floral Fusions Sizzlits die. These were sponged lightly with Crumb Cake before glueing the layers together and a Basic Pearl added to the centre. The leaves were cut from the Little Leaves Sizzlits die and the tiny flowers from one of the Itty Bitty Shapes Punch pack. The 'ribbon' loops are pieces of Crochet Trim coloured with Pink Pirouette ink. My apologies for the long explanation but there were a lot of different components to the card and this is one I definitely won't be adding to my 'Simples Sunday' collection :0)


This is the sketch!!

                             
              Margaret x

Thursday, 24 October 2013

New Baby


Another commissioned card, this time a congratulations card for the parents of a new baby girl. The brief was 'something very simple' so I stuck with a sentiment (retired) and a few flowers punched with one of the Itty Bitty Shapes Punch Pack. The sentiment was matted onto a Pink Pirouette label cut with one of the Apothecary Accents Framelits and I added a few Basic Pearls finished the card.
Margaret x


Tuesday, 22 October 2013

Classic & Elegant for HoC


Last week I entered a card for the House of Cards Challenge, using the sketch top right, to make a CAS card. I have another entry for this week's challenge which is using the same sketch but, this time, a Classic & Elegant card.
I used a piece of DSP from Modern Medley, cut diagonally, then fixed to a plain card blank to give the white 'x'. The retired SU sentiment Beautiful Birthday was stamped in Black Staz-on, cut with a Labels Collection Framelit then matted onto a larger framelit cut from Basic Black cardstock. A small loop of (retired) Basic Black Satin ribbon was glued to one side of the frame before fixing to the centre of the card using dimensionals. I added three small punched flowers, from the Itty Bitty Shapes Punch Pack with a Basic Rhinestone in the centre of each one.
My apologies for posting Weds card on Tuesday evening but, as this is for a challenge, I couldn't schedule it as normal because I needed to link it up to the challenge site and I can't do that when I'm not here! If you would like to see my Tuesday's 'new home' card scroll down to previous post :0)
Thanks for stopping by and I'll be back on Thursday
Margaret x

Friday, 11 October 2013

This is a card I made for a very good friend who, sadly, lost her Mum earlier in the week. I got inspiration for the card from a fellow SU team member, Lizy Bartaby (you can see Lizy's card here). I used a stamp from Mosaic Madness, stamped in black Staz-on, and added a flower to the centres punched from one of the Itty Bitty Shapes Punch Pack. A knot of Basic Black Taffeta Ribbon, a sentiment from Teeny Tiny Sentiments and three Basic Pearls were added to finish the card.
Margaret x


Related Posts Plugin for WordPress, Blogger...